Installing a birdhouse camera
Since spring 2003 I observe titmouse's in my birdhouse. In this article I will explain how to do this.
Minimal needed:
- camera
- television with scart connection
- birdhouse
Extra needs:
- video recorder
- computer with tv card
- wood and stain
- material to connect the cables
The camera
De camera is a little infrared security camera with a image angle of 92 degrees, 6,5 x 5 x 3,5 cm, from the firm Hapé type CA27. This camera is completely delivered including cables for 50 Euro.
After mounting the camera with the extension cable of 17 metre the camera can be
directly connected to a television with scart connecting.
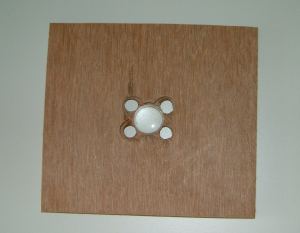
To be able to mount the camera in the birdhouse, the camera has been built in a wooden
shelf
 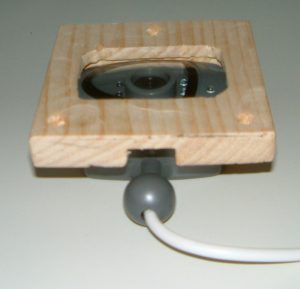 On the left a scan of the camera showed on the package, this one has 12 leds, while the real camera has 6 leds. On the right the camera built in in a shelf. |
Because of the fact the camera has 6 leds, it gives to much light. By mounting the lens in a wooden shelf, the light can be regulated by putting little holes in the wooden shelf.
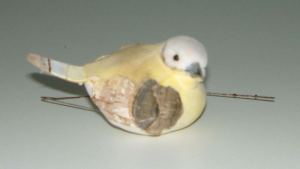
Focus the camera
The camera can be opened carefully (note: by opening the camera, it will no longer be under warranty). A rubber ring can be removed. The lens can be turned in and out, to get a sharp view.
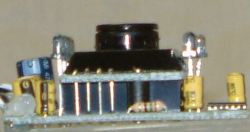
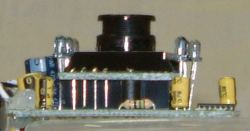
Turning the lens minimal and maximal.
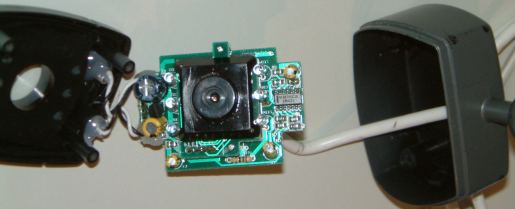
Complete view of the opened camera.
Rebuilding the birdhouse
The birdhouse gets a gabled roof, to get space for placing the camera. During testing the entrance (flight hole) of the birdhouse could not be seen. To see the entrance also, the birdhouse was raised by 10 cm.
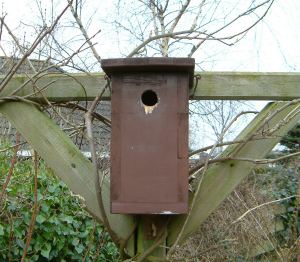 The old birdhouse without camera |
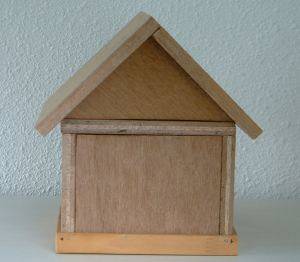 The construction of the birdhouse exist of the roof with camera, a wooden shelf with holes, a raising of 10 cm |
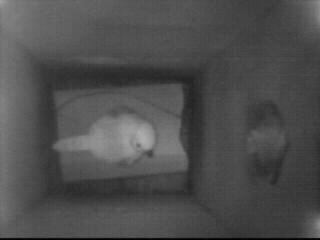
Testing the camera
By focussing the camera a test bird has been placed in the birdhouse.
with to following result:
Tips / remarks:
- It's difficult to have always a sharp image. These images were made inside the house. Sunlight is much sharper.
- The camera has a microphone and also records sounds of other birds, cars, etceteras.
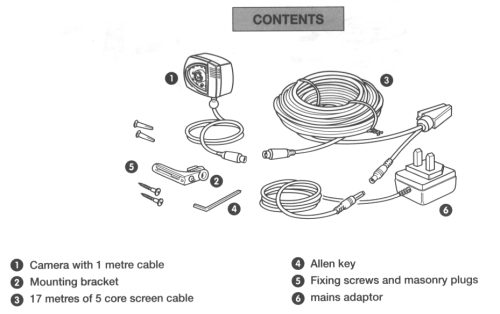
How is everything connected?
The easiest way is shown on an image out of the manual:
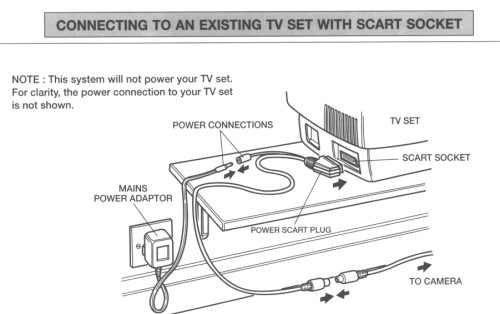
I chose the following connection:
The camera is connected with the extension cable. The extension cable has 2 outlets, one
goes to the power supply voltage, the other side goes to the scart connection of the video
recorder. From the video recorder an antenna cable goes to the television card in the
computer.
In this way it's possible to make images via the computer and on video.
It didn't work out to plug in the camera directly to the computer. De video has to be
switched on to be able to see images.
Continuation
After staining and assembling the birdhouse it looks this way:
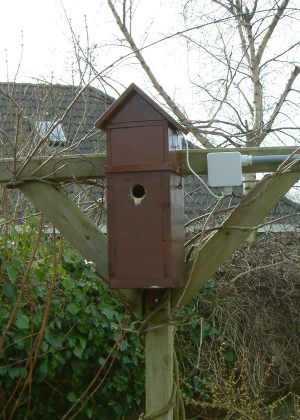
The camera has been installed on March, 9th 2003. May 18th 2003 the 10th titmouse's was born.
In the next articles more information can be found:
[ Home ] [ overview birdhouses ]